How to Make Embroidered Ultrasound Room Decor | Style Revive Expecting, Season 6, Ep. 3
Seeing your little one through ultrasound is one of the most precious moments in pregnancy and gives you a little sneak peek of your baby to come. In this episode of Style Revive, Meg creates a piece of ultrasound decor by digitizing her ultrasound and turning it into an embroidery design!
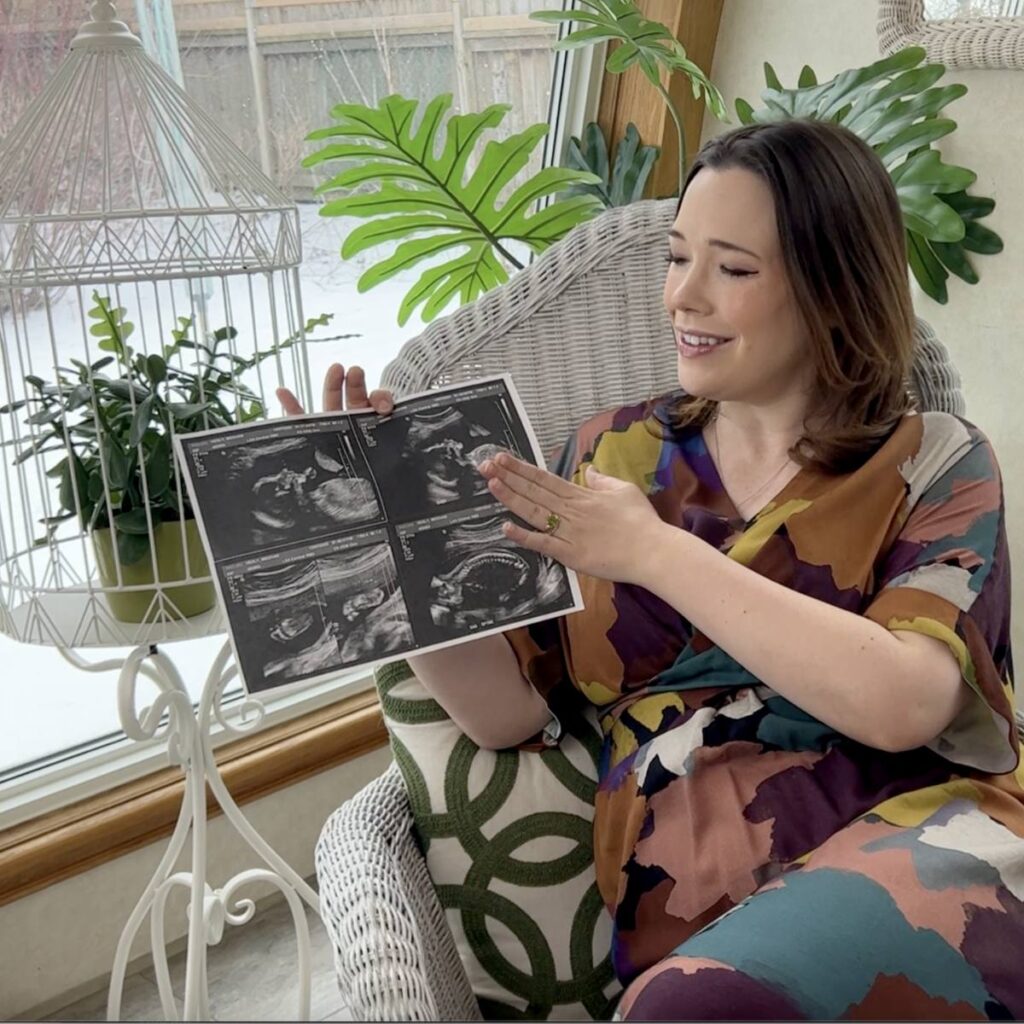
It’s pure magic, and you can then use your stitched-out ultrasound to sew it into a keepsake quilt, pillow, or hanging textile art piece, which was what I decided to do. Check it out!
Make Your Ultrasound Decor, Step By Step
You may receive a digital version of your ultrasound, but if you just have a printout, simply just take a picture of it to transfer to your computer.
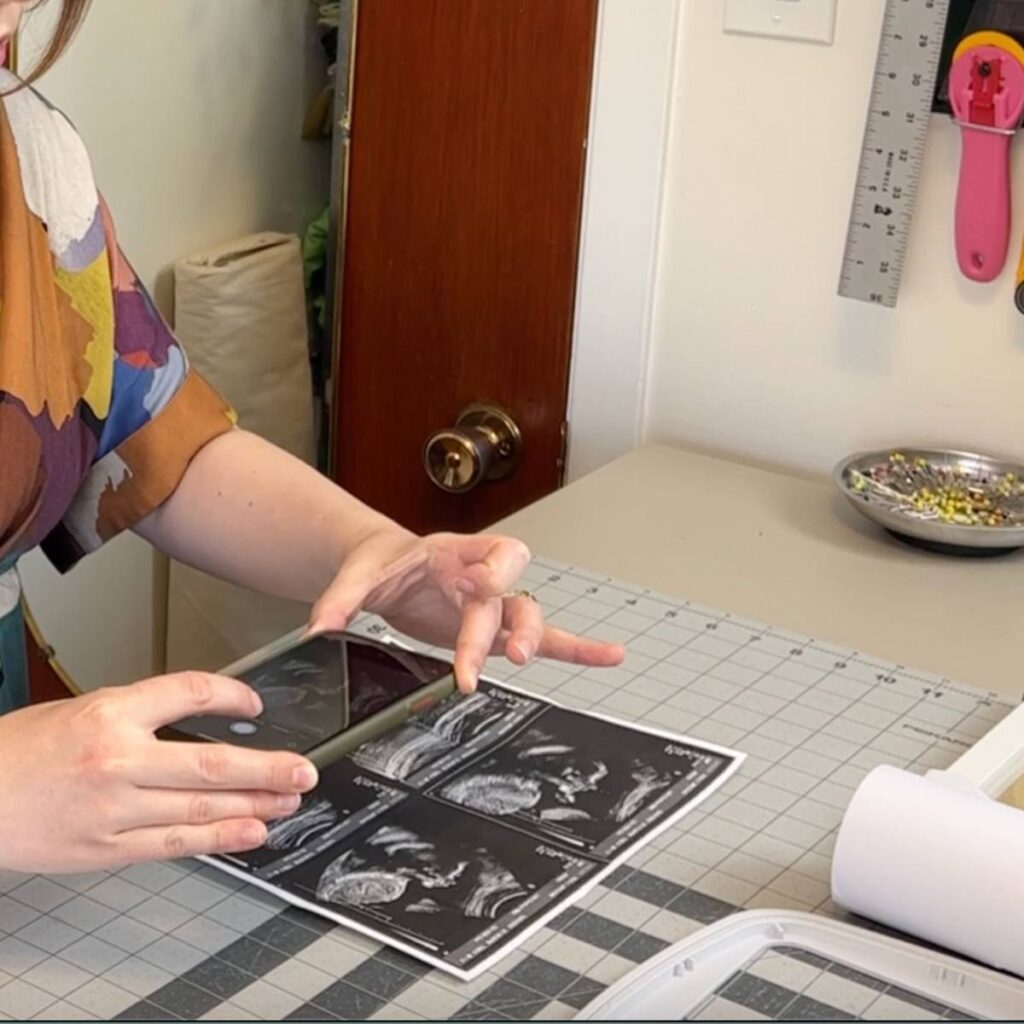
Before you upload your image to digitizing software, play with the levels and saturation of your ultrasound in photo editing software so that the black background and white details are in high contrast.
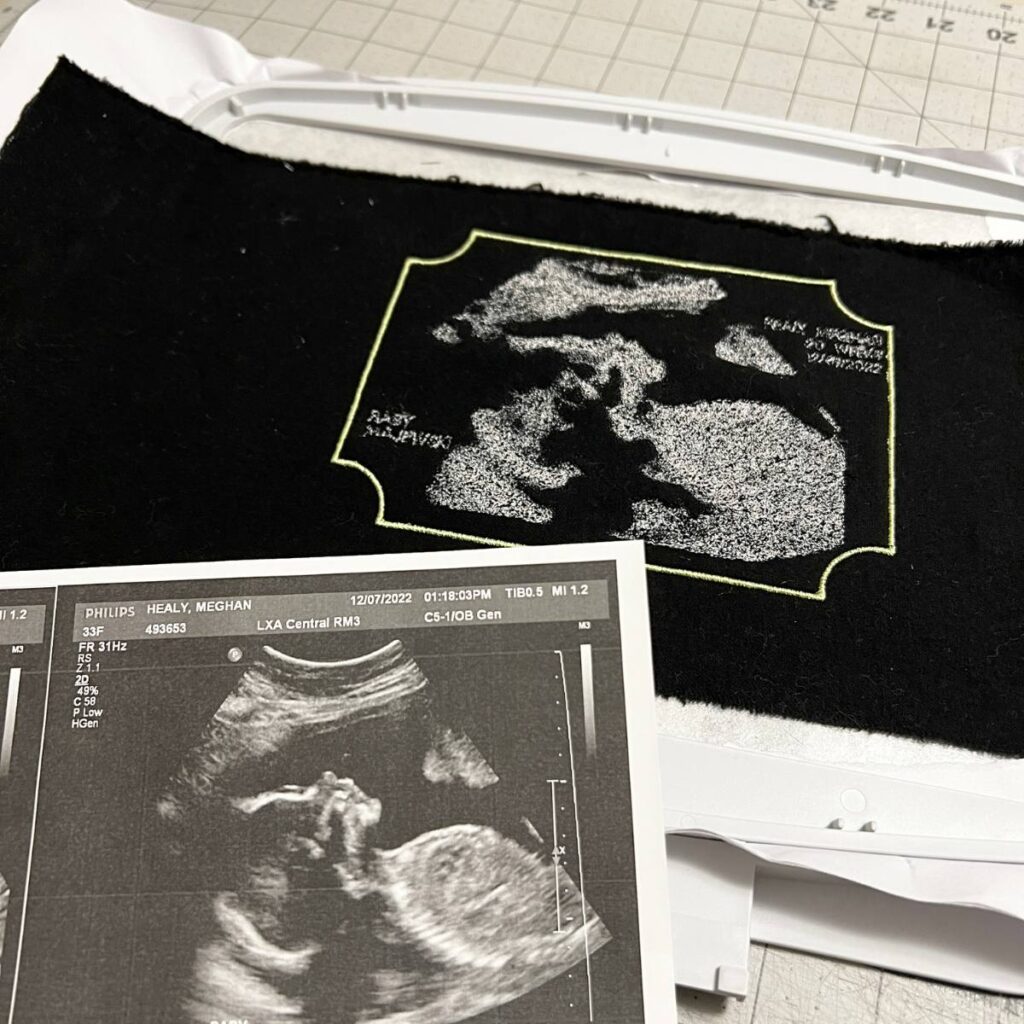
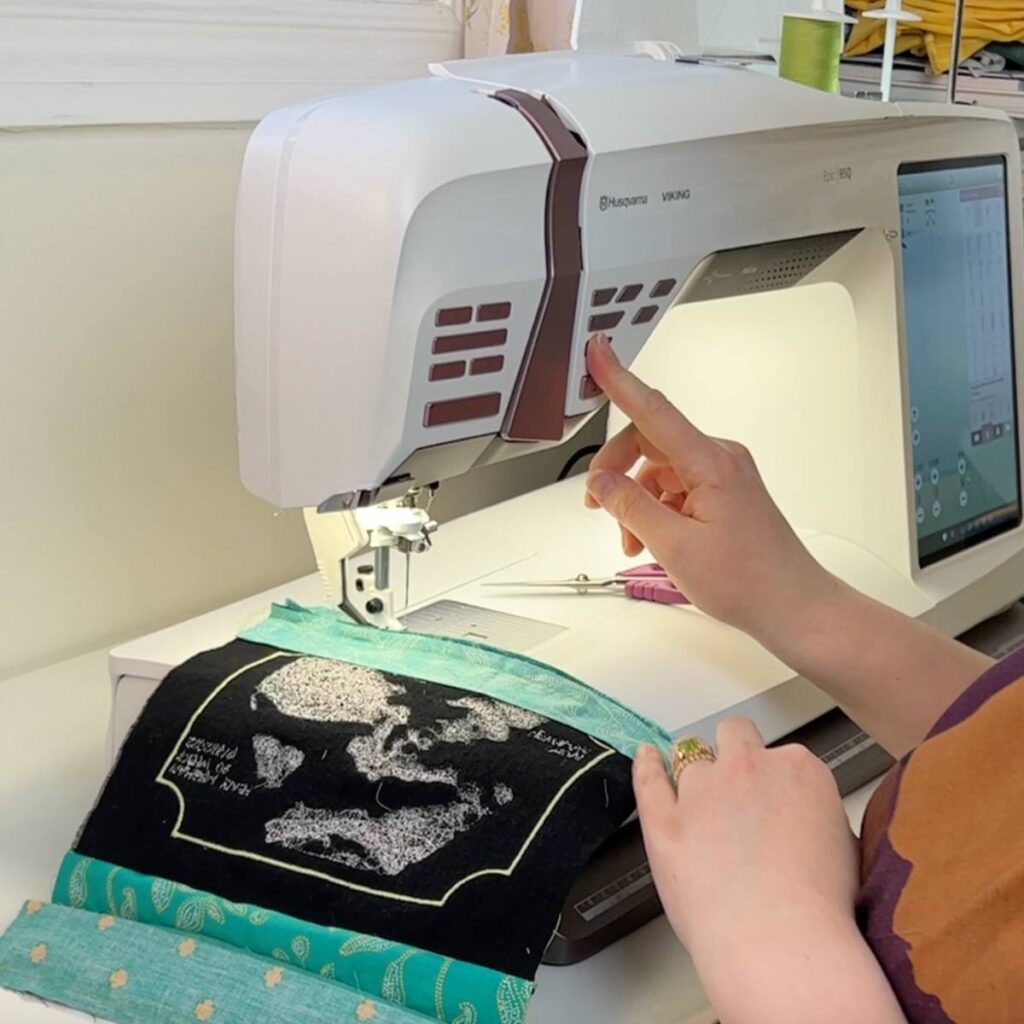
I used mySewnet software to make a photostitch. From there you can select to create a monochrome photostitch embroidery that works perfectly for an ultrasound image.

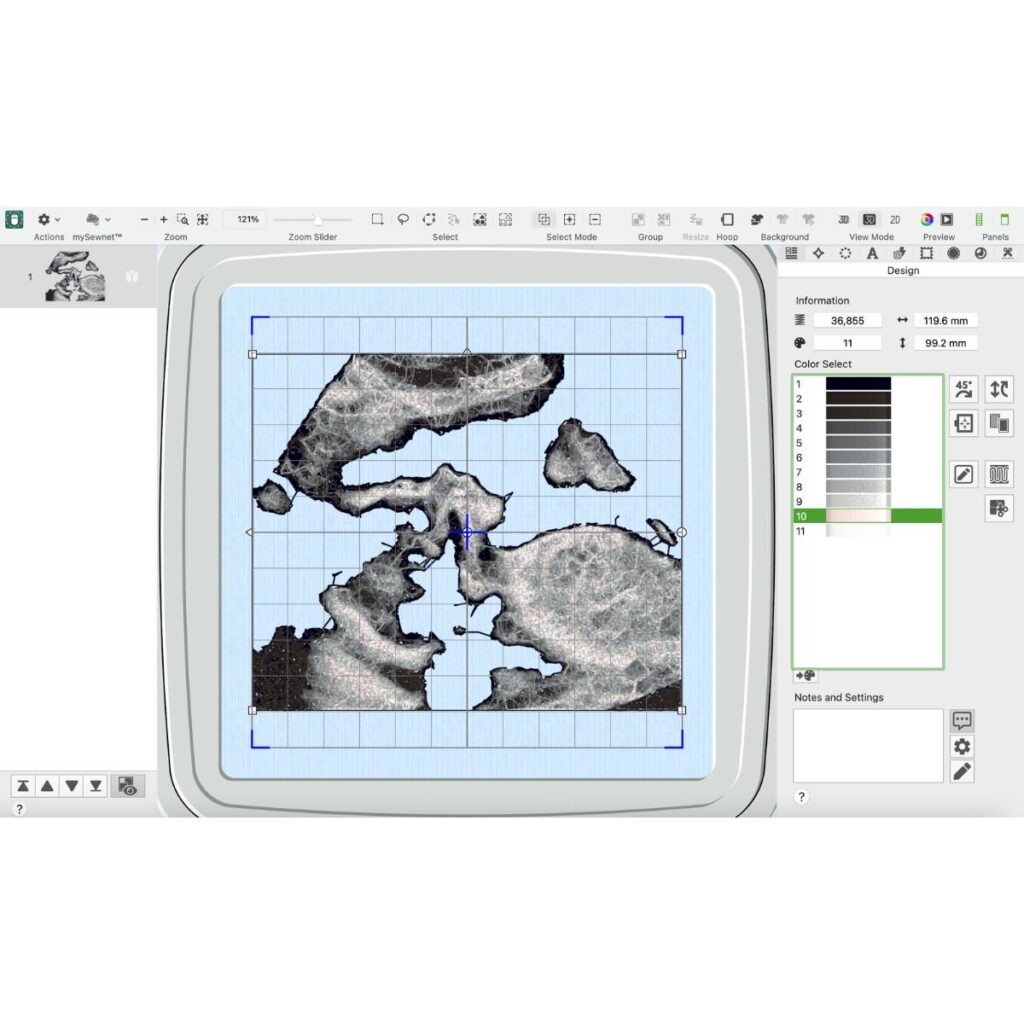
I also played around with adding borders and labels saying how many weeks along I was and the date of the ultrasound. Then it was time to send it over to the embroidery machine!
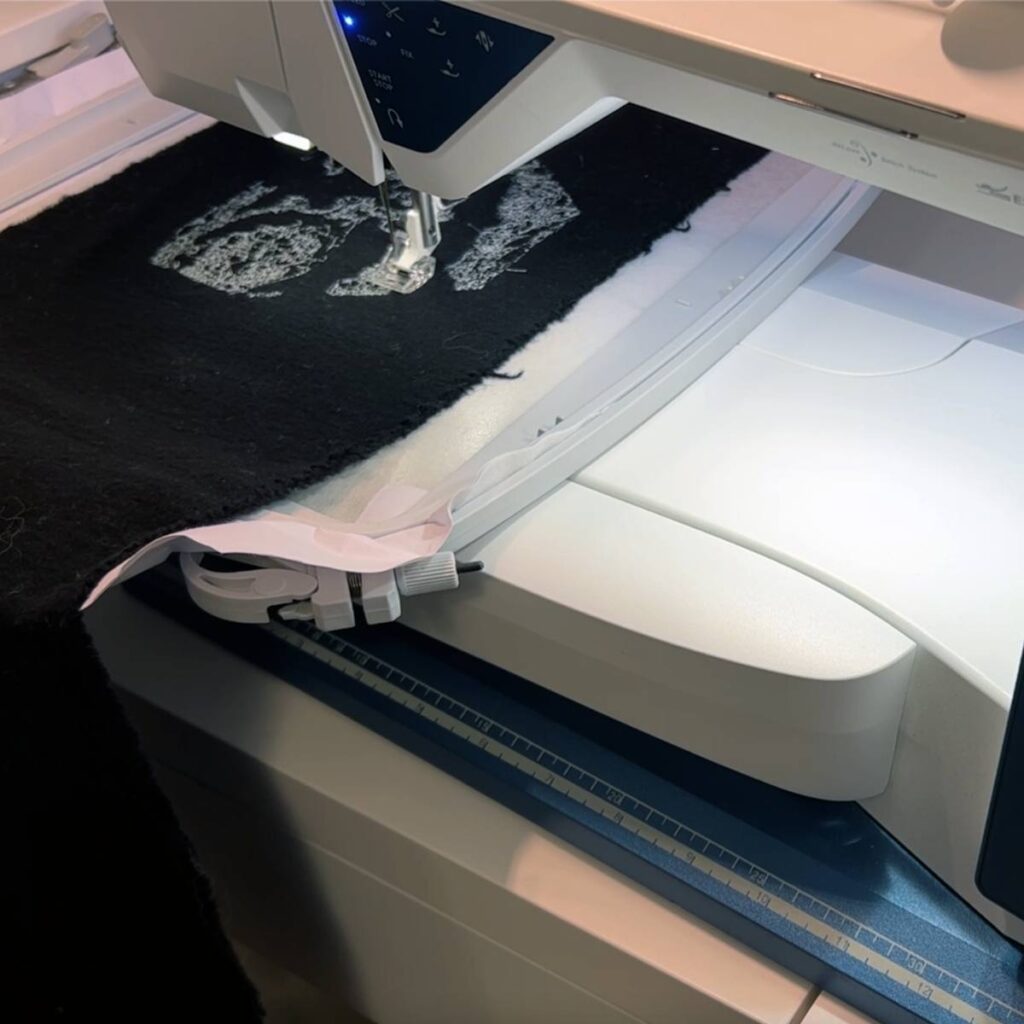
Depending on the size and stitch density, the stitch out can take a little while, so take a seat and enjoy seeing your little one coming to life on the machine.
Since this design is monochrome, it is important to have an entire set of grayscale embroidery threads for a more realistic and dimensional design.

A Fabulous Finish
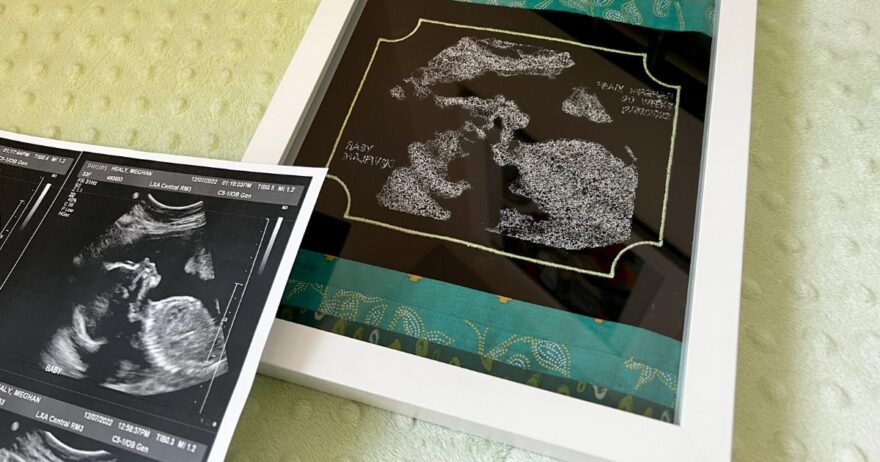
I was truly amazed when the stitch-out was complete! It looked so much like my ultrasound and I’m so happy it is captured on fabric. From here there are so many projects you can make with the design including a pillow, quilt, and in my case a framed piece of textile art!
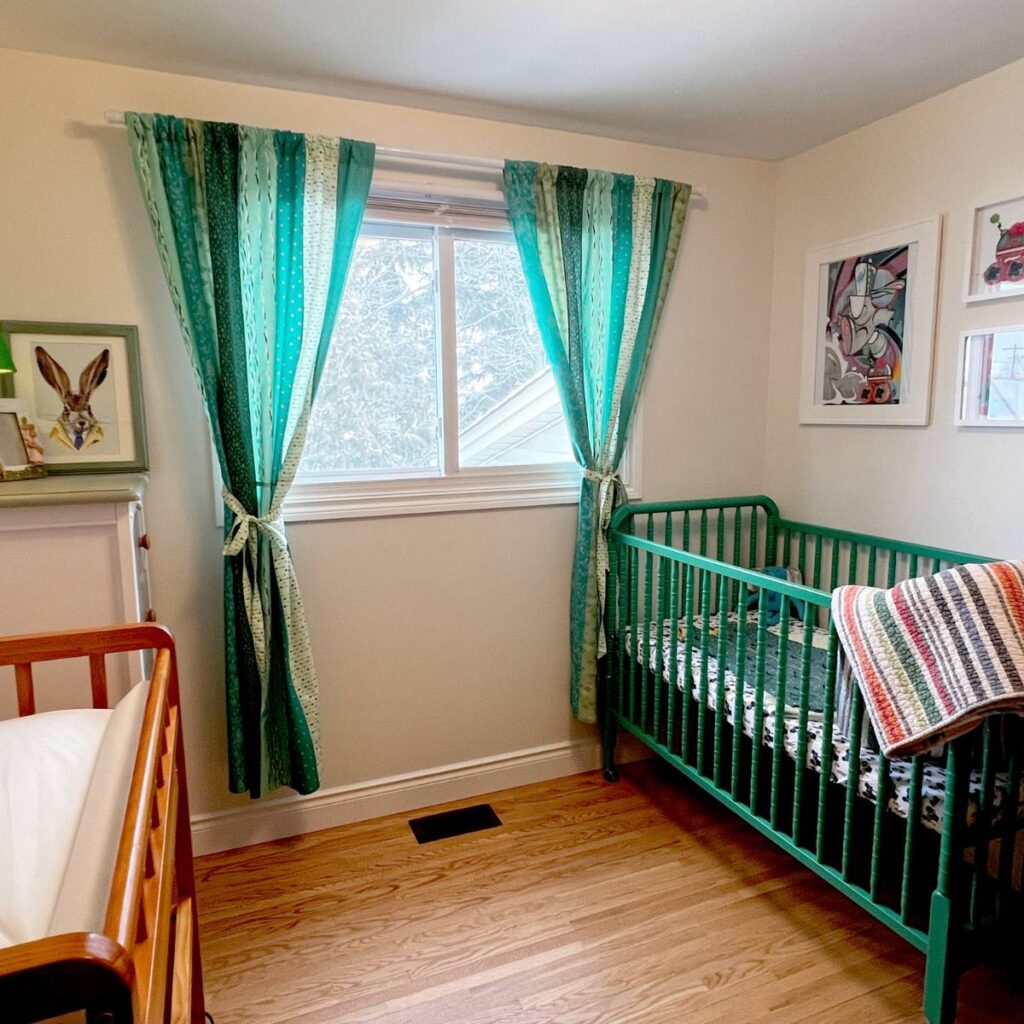
For the nursery, I stitched up these adorable, paneled curtains using this emerald fabric collection from Art Gallery Fabrics and a bunch of leftover scraps.
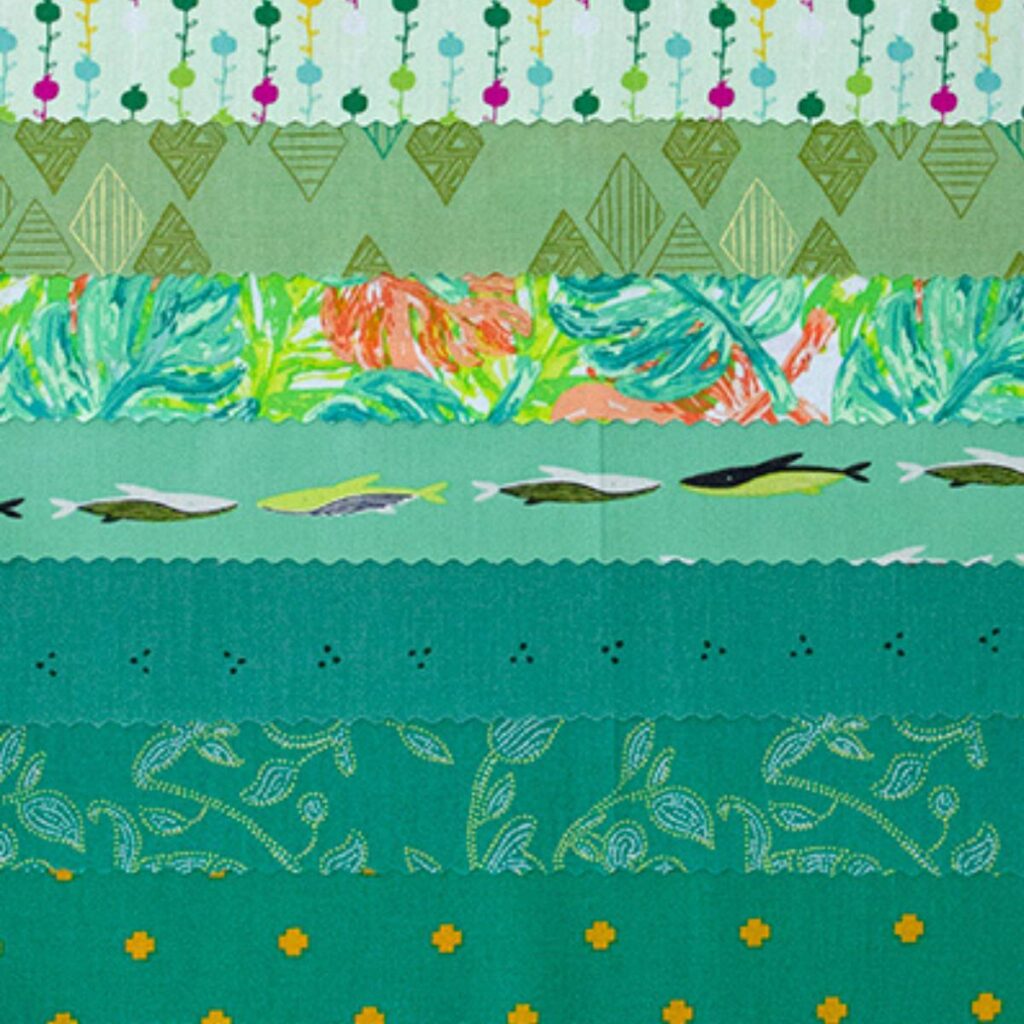
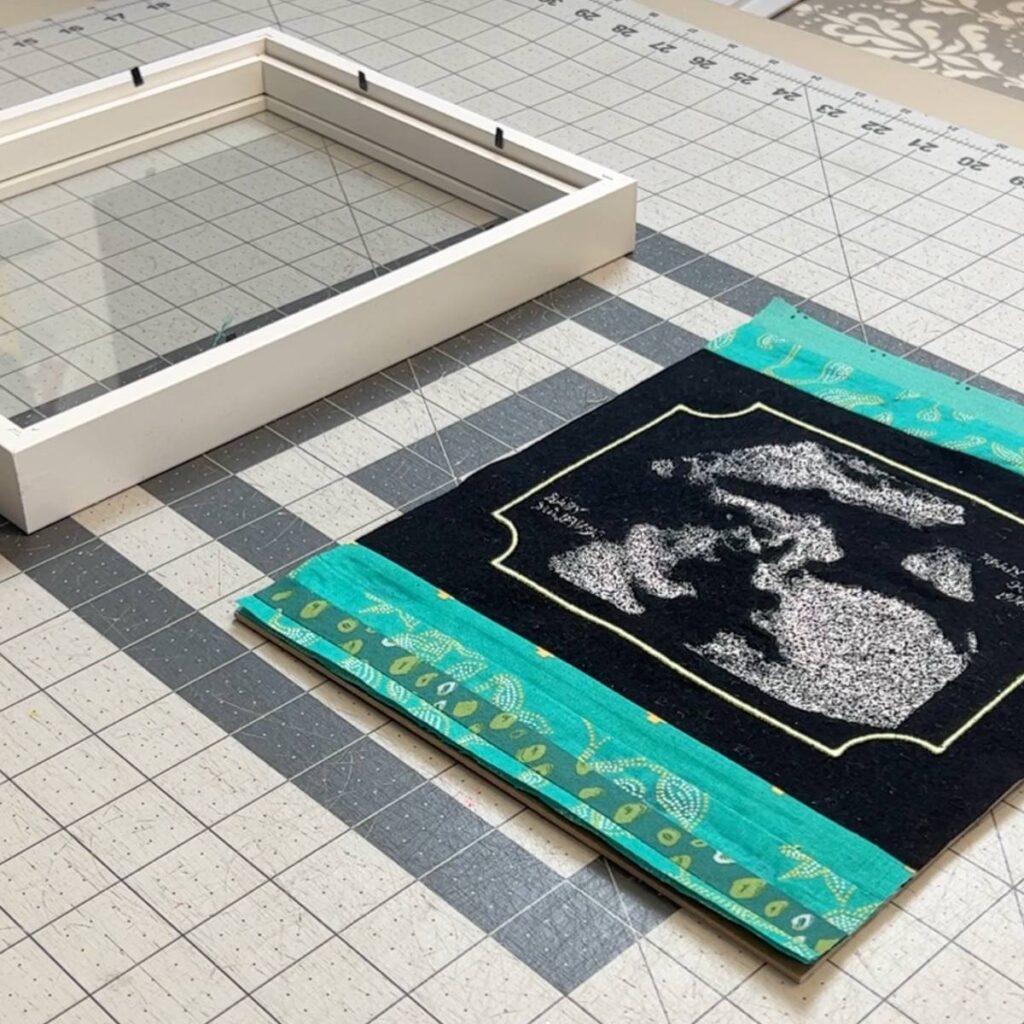
I love using up scraps, so I decided to incorporate them into my ultrasound art, too. I cut a bunch of 1″ strips and stitched them together and then sewed them onto the top and bottom of my ultrasound design.
For the frame, I used an 8″ x 10″ shadow box type frame (like this one). I trimmed the fabric to fit the frame backing and then I used fabric glue to adhere it.
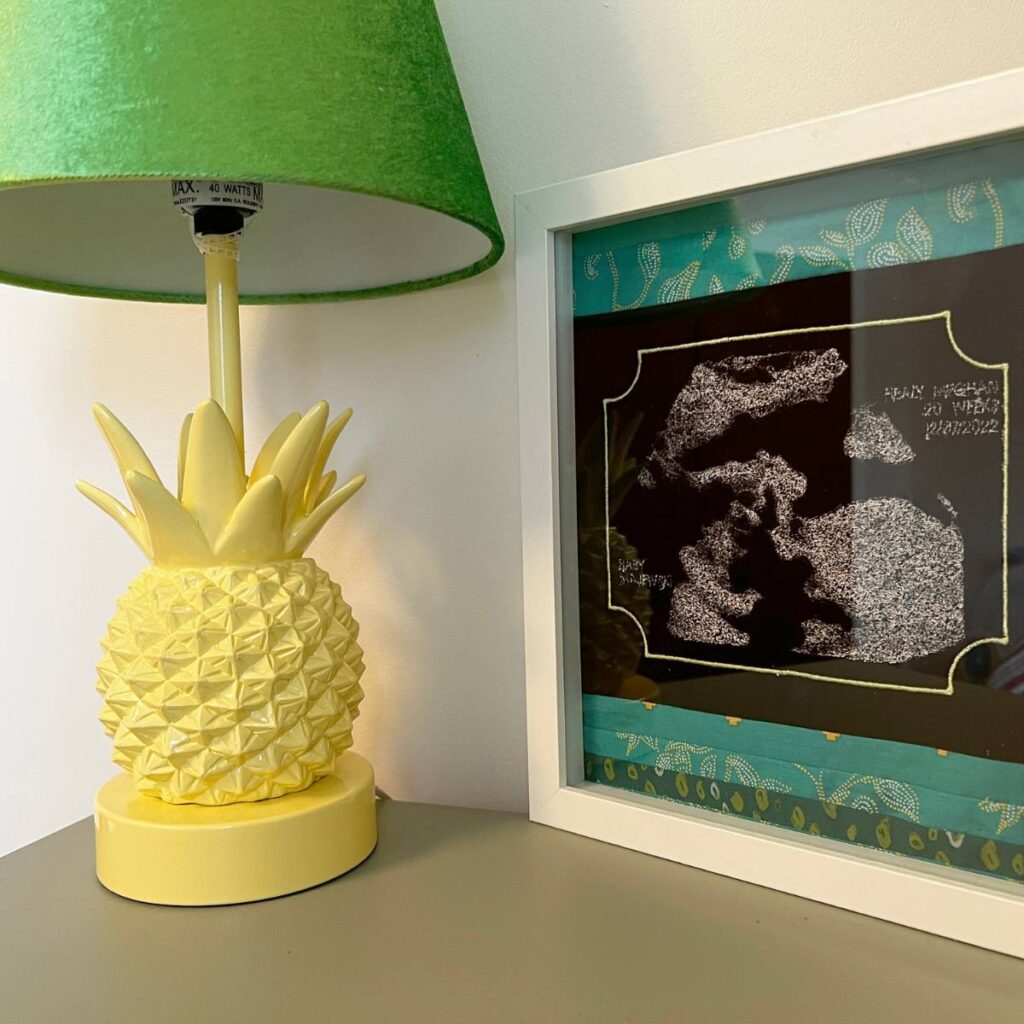
My favorite part was placing this piece of art in the nursery. You can lean it on a shelf, dresser, or hang it on the wall. Using fabrics that are elsewhere in the room really helps bring a theme to life.
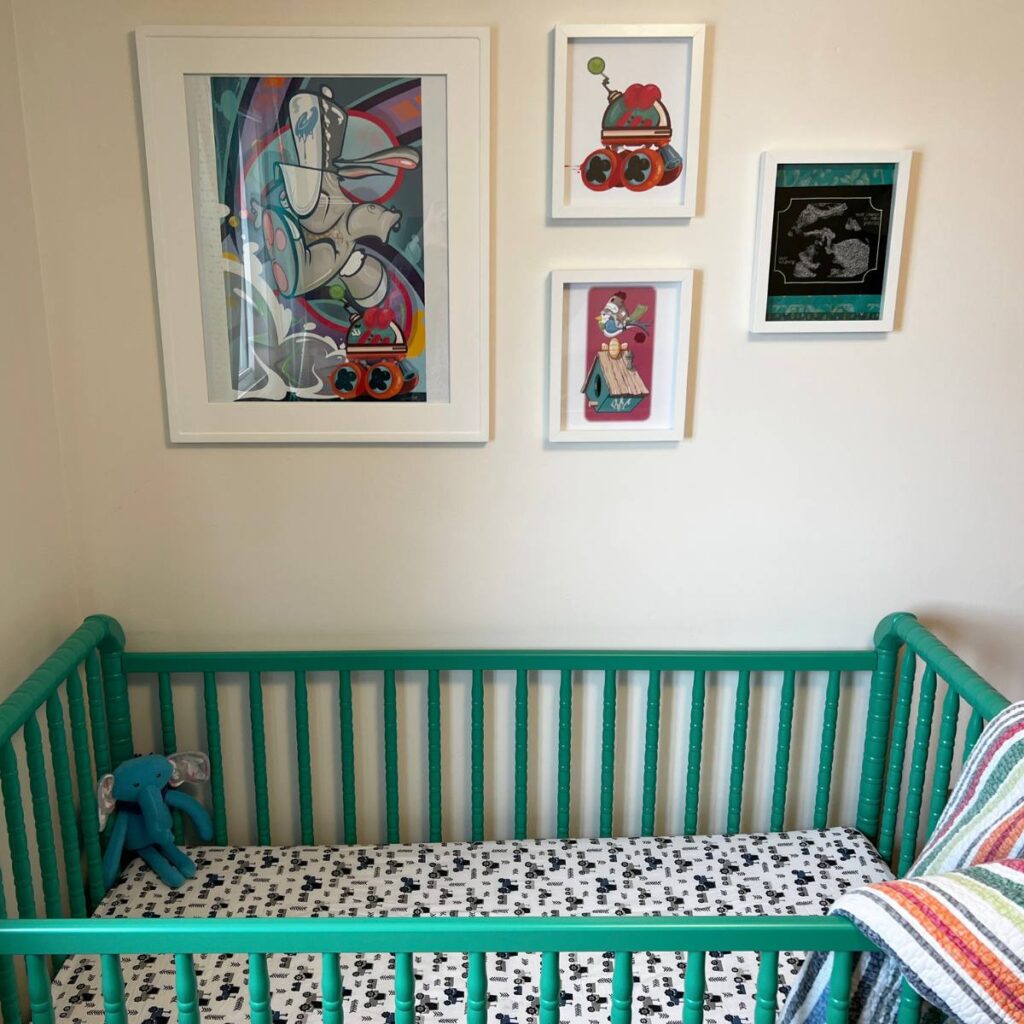
An ultrasound decor piece is a fabulous gift to give your expecting friend or family member if they send you an ultrasound image.
Happy stitching!
P.S. Catch up on Style Revive Season 6, and all of the other seasons, too!
Sweet Baby Ideas from Sew Daily






Join the Conversation!